
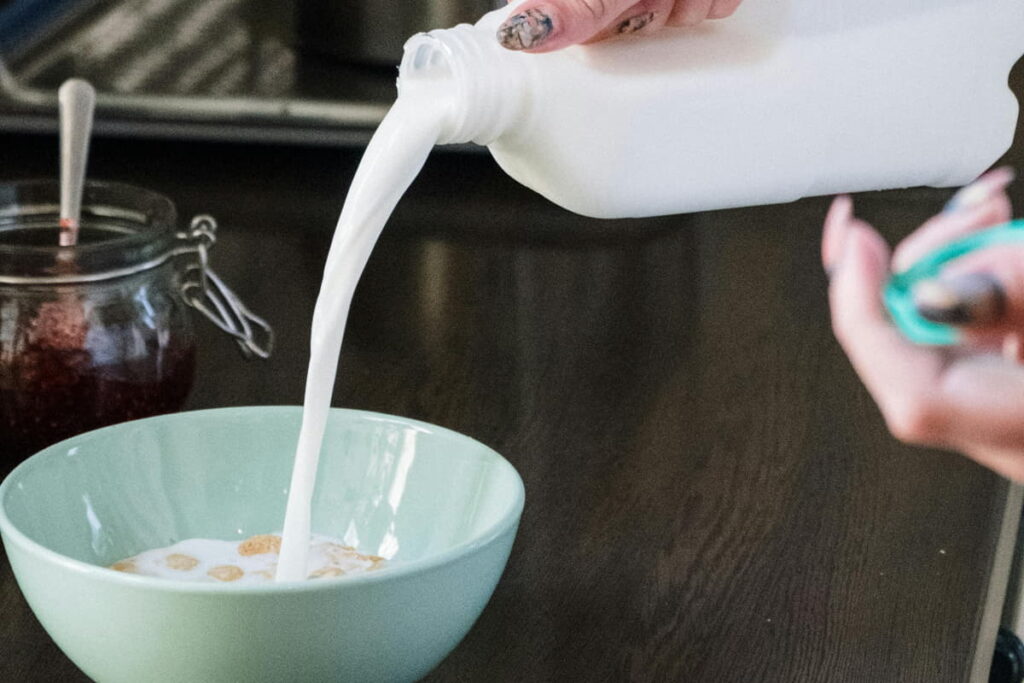
Freezing milk is a simple way to make it last longer, I do it all the time when I find a good sale. But I learned quickly that how you thaw frozen milk matters just as much as how you freeze it. Thaw it the wrong way, and you can end up with milk that spoils faster, tastes off, or loses its smooth texture.
The good news? Thawing frozen milk safely is easy, it just takes the right method and a little patience. Whether you’re thawing a full gallon or a small carton, here’s how to do it properly so it stays fresh, safe, and ready to pour.
What Freezing Does to Milk (and Why It Sometimes Explodes)
When milk freezes, the water inside expands by roughly 9–11%. That expansion can push hard against its container, especially with cheap, thin plastic gallon jugs.
I learned fast: always pour out half a glass of milk before freezing to give it room to expand. That tiny step saves you from cracked jugs and a freezer full of frozen milk. Interestingly, I found that boxed milk (the shelf-stable kind) survives freezing far better, the packaging is sturdier and more flexible.
Beyond the mess, freezing changes the structure of milk. The fat and proteins separate, so when you thaw it, you’ll often see layers or a grainy look. It’s not spoiled, it’s just science.
Why Milk Turns Yellow When Frozen
When milk freezes, you might notice it taking on a yellowish hue. Don’t panic, that’s completely normal.
The color change happens because riboflavin (vitamin B2) separates slightly from the rest of the ingredients during freezing. Once the milk thaws and you shake it well, that yellow tint disappears.
Why the Texture Changes After Thawing
When milk thaws, the fat and proteins can separate, leaving a grainy or uneven texture, especially in whole or 2% milk.
- A vigorous shake (or a quick spin with a hand blender) will usually fix it.
- Skim and low-fat milk show less texture change because they contain less fat.
So if your thawed milk doesn’t look perfect, that’s fine, it’s just physics. Once it’s shaken and smooth again, it’s ready to drink or cook with.
Thaw Properly: Harmful Bacteria Lurks
It’s tempting to thaw milk the easy way, just set it on the counter and let it sit. I’ve done that. Most of us have. But that’s exactly how milk ends up in what the U.S. Department of Agriculture (USDA) calls the Danger Zone, the temperature range between 40°F and 140°F, where bacteria multiply fast.
According to the U.S Dairy, milk is pasteurized to kill harmful bacteria that could cause illness, but that doesn’t mean they endorse leaving it out. Pasteurization makes milk safe only while it stays cold. Once milk warms above 40°F, new bacteria can start growing rapidly, turning a safe jug into a risky one.
So while leaving it out might seem harmless, even a few hours at room temperature can make milk unsafe. The milk might still look or smell fine, but contamination doesn’t always show itself right away.
That’s why it’s critical to defrost frozen milk the right way, keeping it cold from start to finish. The methods below are the safest, most reliable options to prevent spoilage and protect the milk’s quality.
The Right Ways to Thaw Frozen Milk
When you are ready to use your frozen milk, you have two available options.
You can let the gallon of milk sit in the refrigerator overnight or place it in a cold-water bath.
We will take a detailed look at each method below, highlighting the pros and cons of each.
1. The Refrigerator Method (Safest)
Letting the milk sit overnight in the refrigerator is the best option available when you are looking to safely defrost milk.
Steps:
- Place the gallon of milk to thaw in the refrigerator the night before you plan on using it. The milk can take up to a day for the milk to fully defrost, so give yourself ample time.
- If it is still a bit frozen after leaving it in the refrigerator overnight, then you can take it out and place it in a cold-water bath to let it fully thaw out (We examine that in the next section).
Pros: Milk will thaw without worrying about the growth of harmful bacteria.
Cons: Takes a long time for the milk to thaw, not recommended if you need it quickly.
2. The Cold-Water Bath (Faster but Still Safe)
If you are looking to defrost milk quickly, then the cold water bath method is the best option.
Steps:
- Fill a large container or kitchen sink with cold water.
- Place the frozen gallon of milk into the container/sink of cold water to defrost.
- Let the milk to sit for about 30 minutes in the cold water bath. Check to see if the milk is thawed to your liking. If there are still ice chunks, replace the water with new cold water and let it sit for another 15-20 minutes (depending on the thickness of the ice chunks).
- Once thawed, shake and store in the refrigerator.
Pros: Quick method to defrost, can take 30 minutes to an hour, compared to hours sitting in the refrigerator.
Cons: If left out for hours and the water gets too warm, this method can promote the growth of harmful bacteria.
3. The Hybrid Method (My Personal Favorite)
This is the “best of both worlds” approach I rely on most now.

Start thawing milk overnight in the fridge, then move it to a cold-water bath in the morning.
The milk finishes thawing in about 16–18 hours total, much faster than fridge-only thawing, and still well within the safe temperature zone.
How Long Thawed Milk Lasts
Once fully thawed, treat it like fresh milk, but with a shorter shelf life.
- In the fridge: use within 3–5 days.
- Never refreeze thawed milk.
- Always check before using: if it smells sour, looks chunky, or feels slimy, it’s gone bad.
Freezing weakens the natural balance of milk, making it more sensitive to temperature and bacterial growth once it’s liquid again.
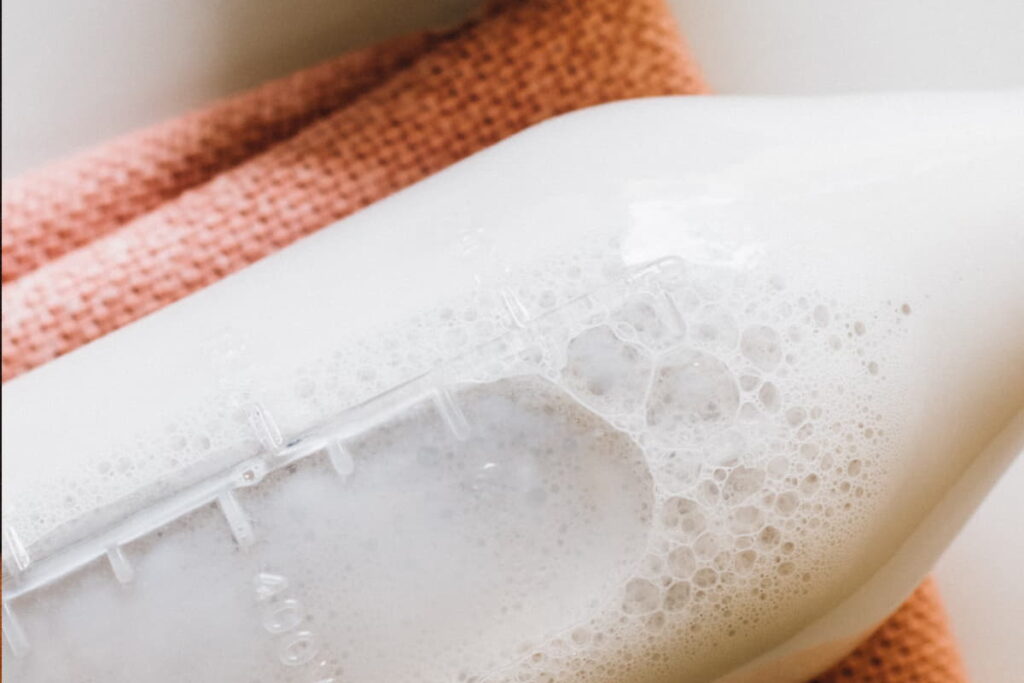
Big Containers: Gallons, Half-Gallons, and Boxes
Large containers thaw unevenly, the outer layer melts while the inside stays icy. Here’s what I’ve learned:
- Before freezing: pour out half a glass for expansion.
- During thawing: rotate the jug occasionally in the water bath.
- After thawing: shake it several times as it melts.
If you freeze a lot of milk, consider dividing it into smaller bottles, they thaw evenly and quicker.
And if you’re using boxed milk (the kind in cartons), you’re in luck, they tend to survive freezing beautifully, with minimal splitting or leakage.
Common Mistakes (and Why to Avoid Them)
Refreezing thawed milk: changes taste, texture, and safety.
Leaving milk on the counter: unsafe bacterial growth starts within hours.
Using hot water: uneven thawing can scald parts of the milk.
Microwaving the jug: causes boiling spots, melting plastic, and weird flavors.
Smarter Thawing Starts Here
Freezing milk isn’t just about saving a few dollars, it’s about learning how to make what you have last longer and work harder. Now that you know how to thaw milk safely, you’ve already taken one of the biggest steps in cutting kitchen waste.
If you’ve ever wondered how to thaw other frozen staples, like cheese, meat, or even bread, without losing flavor or texture, you’ll want to check out my full guide on how to safely thaw different foods. It breaks down times, methods, and quick fixes for when you’re in a hurry
I have tried to thaw frozen milk in the refrigerator and it has taken several days for the ice chunks to melt.