
Dinner’s in an hour and your ground beef is still a frozen brick? Don’t panic, I’ve been there. Over the years, I’ve learned how to thaw ground beef quickly without ruining its texture or risking food safety.
This isn’t just another list of tips, it’s my ultimate guide, built from trial, error, and a lot of last-minute dinners.
I’ll walk you through every method that actually works, from the cold-water trick I swear by to the hands-off defrosting tray and even the “in a pinch” microwave move.
No stress, no soggy beef, just fast, safe, delicious results.
In a Hurry? Here’s How to Defrost Ground Beef Fast and Safely
When dinner’s in an hour, you don’t need theory, you need results. These three fast methods I use that are quick, safe, and reliable. You can’t go wrong with any of them.
- Cold Water Method (Best Overall): Seal it in a zip bag → submerge in cold water → change water every 30 min → 1 lb thaws in ~1 hour.
Hack: Turn your sink faucet to a slow trickle for “set and forget” thawing. - Defrosting Tray (Next Best, Hands-Off): Put the sealed beef flat on an aluminum defrosting tray → flip every 15 min → ready in ~45–60 minutes.
- Microwave (Last Resort, but Okay): Use the “defrost” setting (or 30% power) → rotate halfway → cook immediately after.
Got a few more minutes? Here’s why these methods work, and how to choose the one that fits your night.
Why These Methods Work (And the Countertop Doesn’t)
Alright, quick bit of kitchen science, it’ll take a minute, but it’s the kind of knowledge that makes you a better cook.
Thawing frozen ground beef isn’t just melting ice. It’s a small physics lesson that decides how your dinner tastes. When meat freezes, tiny ice crystals form inside the muscle fibers. If those crystals melt too fast, they tear the fibers apart.
That’s why rushed or uneven thawing leaves you with a pool of pink liquid and beef that steams instead of browns.
As one cook put it on Reddit’s r/Chefit, some moisture loss is unavoidable once meat’s been frozen, but the slower, steadier you thaw, the more of that juiciness you keep.
Here’s how each method plays into that:
- Air (the countertop) moves heat slowly and unevenly. The outside warms up long before the center thaws, which means the surface can hit the “danger zone”, above 40°F, while the inside’s still rock-solid. That’s both unsafe and bad for texture.
- Water moves heat much faster, about 25 times faster than air. A cold-water bath warms the meat evenly, keeping it below 40°F while softening those ice crystals at a steady pace. Translation: you save hours and your beef stays juicy.
- Metal (like an aluminum defrosting tray) is a heat conductor too. It pulls warmth from the air around it and transfers it through the packaging into the meat. It’s not as fast as water, but it’s steady and hands-off, great for when you’re multitasking.
The goal is always the same: warm the beef just enough to make it pliable without giving bacteria a head start or wrecking the texture. That’s why these three methods work every time, they control the heat, protect the flavor, and keep dinner safe.
The How-To: Thawing Ground Beef the Right Way
You’ve seen the quick rundown, now here’s how to actually do it. These are the methods that work every single time, no guessing, no soggy beef. Each one’s laid out step-by-step so you can follow along and get dinner going fast.
Cold Water Method (My Go-To for Speed and Texture)
This is the method I use most when I forget to plan ahead, it’s quick, safe, and keeps the beef tasting like it never hit the freezer. There are actually two ways to do it, depending on how hands-on (or eco-minded) you want to be.
Option 1: The Sit-and-Soak Method (Less Water, More Patience)
- Keep the beef sealed; rebag it if the original wrap leaks.
- Fill a large bowl or sink with cold tap water, not warm.
- Submerge the bag completely and weigh it down with a plate.
- Change the water every 30 minutes to keep it cold.
- Check after an hour; if it bends easily, you’re good to go.
This version takes a bit longer but uses less water, perfect if you’re trying to be mindful of waste.
Option 2: The Trickle Method (Faster, but Less Eco-Friendly)
- Same setup, sealed beef, bowl, cold water.
- Instead of refilling, turn the faucet to a slow, steady trickle so the water constantly refreshes.
- The movement keeps the temperature consistent and speeds things up.
- Flip the package halfway through for even thawing.
This one’s faster, I can thaw a pound in 40–50 minutes, but it does waste some water. I only use it when dinner’s looming and the clock’s not on my side.
Pro tip:
Press ground beef flat before freezing next time. It thaws evenly and fits right in the bowl, no wrestling a frozen brick at 5:30 p.m.
Defrosting Tray Method (My Hands-Off Favorite)
If I have things to do, the defrosting tray is another set it and forget it method I grab. It’s clean, safe, and doesn’t need constant attention.
How I do it:
- Take the beef out of the freezer and keep it sealed. If the wrap’s messy, I switch it to a thin zip bag and press out the air.
- Place it flat on an aluminum defrosting tray. Full contact is what makes this work, no folds or air pockets.
- Flip it every 15–20 minutes so both sides warm evenly.
- Once it’s pliable and soft to the touch, you’re ready to cook.
Time: 45–60 minutes for 1 lb, a little longer if it’s thicker.
It’s not magic, aluminum just conducts heat faster than air, but it feels like magic when you’re scrambling to make dinner.
My tip: I learned this trick along the way, a metal baking sheet works just like a defrosting tray. It’s a bit slower, but it gets the job done.
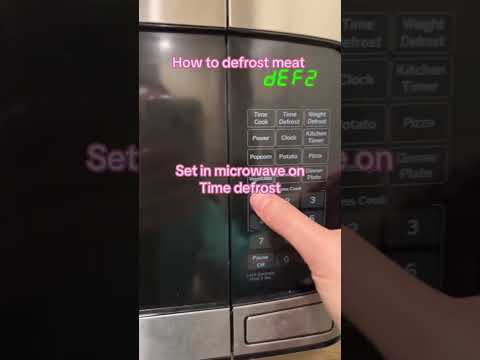
Microwave Method (The “Dinner in 10 Minutes” Option)
This is the emergency move. I only use it when I’m truly out of time, but done right, it’s perfectly safe and gets dinner on the table fast.
Here’s how:
- Take the beef out of its store packaging, it’s not microwave-safe.
- Place it in a microwave-safe dish and cover loosely with a lid or plastic wrap.
- Use the Defrost setting or 30% power.
- Microwave for 2 minutes at a time, rotating or flipping the beef each round.
- Stop once it’s soft enough to press but still cool to the touch, any longer and the edges will start cooking.
- Cook it right away. Don’t let it sit.
Time: About 7–8 minutes per pound.
I’ll be honest, it’s not my favorite for burgers or meatballs (the texture’s a little off), but for tacos, chili, or a pasta sauce? You’ll never notice the difference.
Pro tip:
If the edges start to cook, stop thawing and finish it in the pan on low heat. It’ll even out quickly.
Refrigerator Method (For When You Actually Remember)
This is the safest, easiest, and most forgiving method, it just takes time. I use it when I’m being responsible and remember to plan ahead (rare, but it happens).
How to do it:
- Place the beef (still sealed) on a tray on the bottom shelf of your fridge.
- Leave space around it so air can circulate.
- Let it sit overnight, about 18–24 hours for a pound.
Once it’s thawed, you can keep it in the fridge for another day or two before cooking.
Pro tip:
If you freeze beef flat in thin packs, even this “slow” method only takes 8–10 hours.
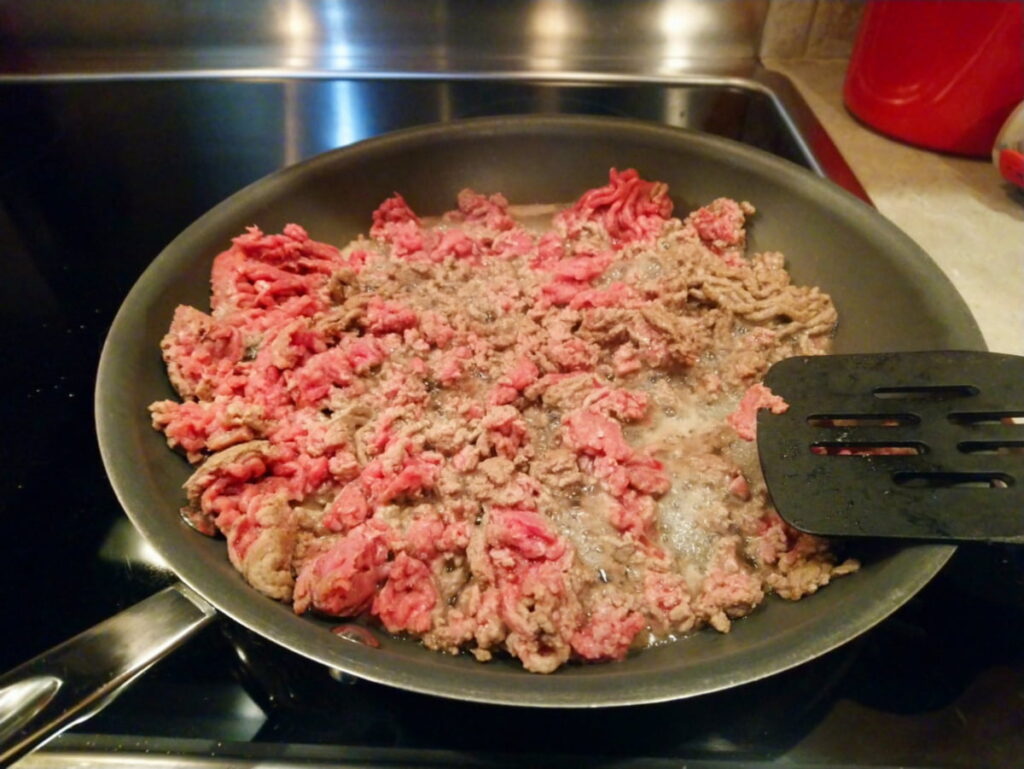
Cook From Frozen (Because Sometimes You Just Start Cooking)
No shame in this move, sometimes the beef’s too frozen and dinner won’t wait. It’s completely safe as long as you cook it thoroughly.
Here’s how I do it:
- Preheat a pan over medium-low heat and add a splash of oil or water.
- Drop in the frozen block of beef.
- Cover for a few minutes to let the outer layer soften.
- Scrape off what’s thawed, flip it, and keep breaking it apart as it loosens.
- Once it’s crumbly, raise the heat and brown as usual.
You’ll need about 50% more cook time, but the flavor holds up, especially in sauces or casseroles where you won’t notice a slightly uneven sear.
Food Safety: The Part Everyone Skips (But Shouldn’t)
I know this isn’t the fun part, but it’s the one that matters most. People often think they can leave meat out “just for a bit,” but that’s when it hits the danger zone (anything between 40°F and 140°F). In that range, bacteria like E. coli and Salmonella multiply fast enough to make you sick before you even notice.
Here’s what I stick to:
- Keep it cold. Ground beef should stay below 40°F as it thaws.
- Cook right away if you’ve used the cold-water or microwave methods.
- Only refreeze if it was thawed in the fridge.
- Trust your senses. Sticky texture or sour smell? Toss it.
- Clean as you go. Wipe down counters and wash your hands after touching raw beef.
If you want to dig deeper, I’ve linked a few short reads worth knowing:
- What the “Danger Zone” Really Means for Home Cooks
- How Long Meat Actually Keeps in the Fridge
- Cross-Contamination Mistakes Most People Don’t Realize They Make
Next Time You Forget to Thaw Dinner…
It happens, you open the freezer, see that frozen brick of beef, and think dinner’s doomed. Not anymore. Once you understand how heat moves, thawing stops being a panic move and becomes part of cooking.
Whether you’ve got ten minutes or an hour, you now know how to thaw ground beef quickly and safely, no mushy texture, no risky shortcuts. Just pick the method that fits your night, and get back to cooking like you meant to all along.
And if you’re curious, check out my guide on how to thaw other foods safely, chicken, fish, soups, you name it, so you’re ready for whatever’s hiding in your freezer next time.